How X-ray Microscopy Facilitates Game-Changing 3D Printing for Parts Manufacturers
Find out how X-ray microscopy at the Colorado School of Mines ADAPT Center is enabling the optimization of parts manufacturing
15 Jun 2017

3D printing turns digital models into three-dimensional objects by laying down successive material layers. Scientists at the Alliance for the Development of Additive Processing Technologies (ADAPT) Center, based at the Colorado School of Mines, use X-ray microscopy to help them understand the crucial relationship between the internal structure of a material and its mechanical behavior. SelectScience® speaks to Branden Kappes to learn more.
SS: Please briefly introduce yourself and your place of work.
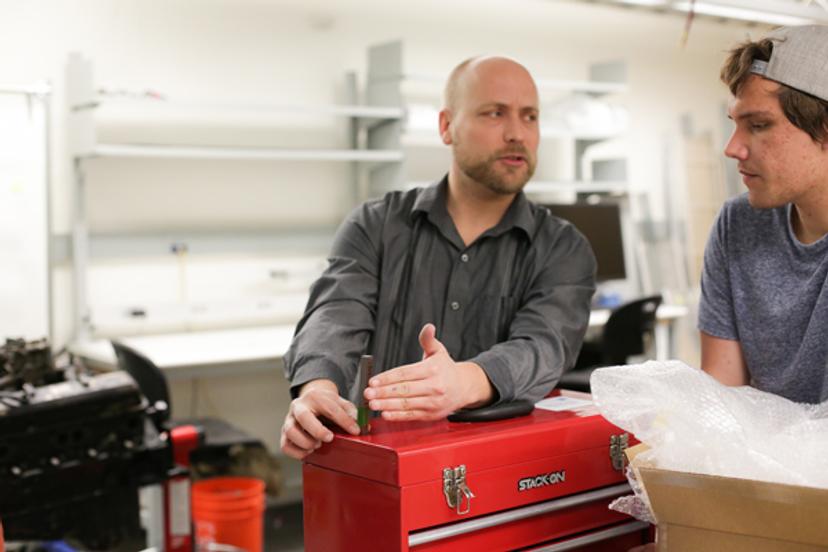
BK: My name is Branden Kappes and I am a Research Assistant Professor at the Colorado School of Mines, as well as the Operations Director of the ADAPT Center, the Alliance for the Development of Additive Processing Technologies. I have a Bachelors and Masters degrees in Materials Science, from the University of Utah, after which I went to work at the Idaho National Laboratory, where I worked with stainless steel before starting a PhD in computational materials science at the Colorado School of Mines (CSM) in January 2004. I have been there ever since. I am now part of the ADAPT Center, a rapidly growing academic-industry consortium focused on improving the commercial outlook of additive manufacturing.
3D printing challenges
SS: Could you describe your work and the need for your current project?
BK: Additive manufacturing (AM), more colloquially known as 3D printing, has been around for several decades. Our interest is specifically in 3D printing of structural metals. The applications are endless, but several challenges prevent the broader adoption of AM. Most notably, AM combines two historically distinct steps: materials synthesis and component manufacturing. Though this seems a subtle change, it is anything but subtle. Focusing in on a single materials system, metals require compositional control, often to sub-one-percent accuracy, and precise thermomechanical processing steps.

The composition and processing work together to create a metallic structure with a very particular microstructure, and from that microstructure, a very particular set of properties. Building a three-dimensional structure one layer at a time, by selectively melting small regions of the build volume, complicates both the compositional control and the thermomechanical processing required to make metallic materials that behave in more familiar ways.
Understanding the impact of this didactic shift in manufacturing requires a detailed understanding of the metallurgy and mechanical properties of the part, and how the build process affects them. With approximately 150 build parameters — from part position and orientation to laser power, speed, spot size, powder size, powder type, the list goes on — understanding the impact of each of these is a daunting challenge. We have chosen to approach this challenge using data informatics and machine learning.
We have characterized hundreds of parts in the past year to develop the knowledge base on which these machine learning models depend.
X-ray microscopy
SS: Are you able to describe briefly how the ZEISS Xradia X-ray microscope works, and how you are using it?
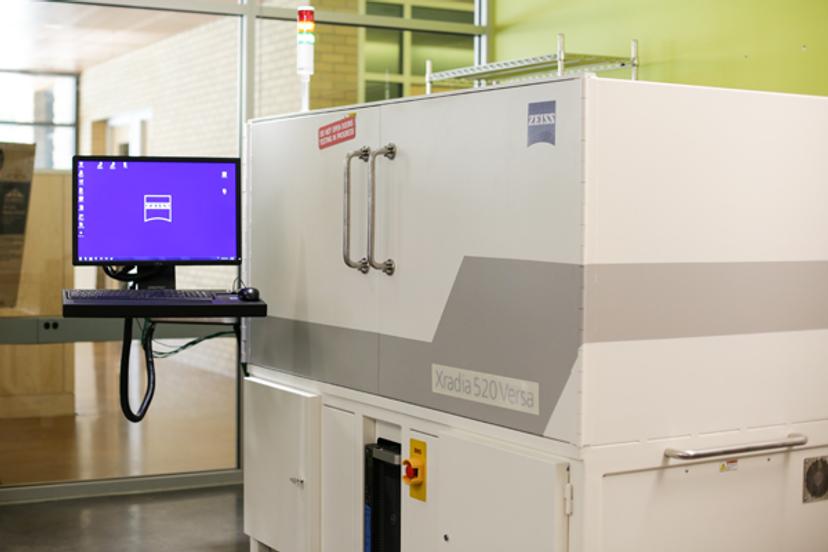
BK: The ZEISS Versa 520 is used for X-ray micro computed tomography (CT), and goes by the acronyms XRM (X-ray microscope) or XCT (X-ray CT). A three-dimensional CT image is calculated from two-dimensional projections. Between 1,600 and 2,400 projections are taken as the sample is rotated through 360 degrees, and each projection shows the locations of features at that angle. In X-ray CT, those features are light and dark regions — light and dark depending on how much that small volume of material absorbs (dark) or transmits (light) X-rays. If you imagine a dark spot right of center in one projection, then the sample is rotated 5 degrees counterclockwise around the vertical axis. If that spot is toward the back of the sample (as seen from the X-ray), then the spot will move to the left. If that spot is near the front of the sample, it will move to the right. In this way, a CT scan is able to figure out the three-dimensional location of every spot in the image. We use this capability to find the location of defects, such as voids (air) and inclusions (colloquially, dirt), that are trapped inside each sample.

SS: How does this technology help you to achieve your research goals?
BK: Nondestructive characterization of internal defects, specifically void, is critical to understanding the relationship between these small, but numerous structures and the mechanical properties of the part. The ZEISS Versa 520 allows us to characterize these voids, then take that very part and perform mechanical tests, tribological tests and hardness tests. This ensures that we get a direct link between the internal structure of the part and what we're really interested in – the part's mechanical behavior.
SS: What is the future of your research?
BK: We have several goals. In the short term (1-3 years), one goal is to develop ever better models to help predict the impact of build conditions on part quality. This will ensure that manufacturers — from the small, 30-person machine shop, to the GEs of the world – can begin to use this technology to make parts that are stronger, lighter and better, and to make them faster than they can today. In the longer term, we would like to improve build quality and reliability by incorporating the decision-making capabilities enabled by this combination of data information and machine learning into 3D printers. Such integration would allow those machines to adapt to second-by-second changes in the build process and improve part quality on the fly.
