Top tips for navigating ISO 8655:2022 for reliable pipetting
Learn about the latest revisions to ISO 8655 and how Sartorius is leading the way in calibration and pipetting solutions
10 Jan 2024

Laboratory science is an exacting craft, demanding precision at every turn. The recent update to the ISO 8655 standard brings a fresh lens to the calibration and testing of pipettes and other piston-operated volumetric apparatus (POVA).
In this article, we explore the implications of the new ISO 8655, unraveling its core changes and their impact on pipette users. Additionally, Axel Taube, Product Manager Service, and Christophe Delzongle, Head of Metrology and Service France at Sartorius, share insights into how Sartorius, a global leader in laboratory technology, is seamlessly integrating its solutions with the updated standards to ensure the delivery of accurate and reproducible pipetting results.
Key changes in ISO 8655:2022
The 2022 revisions of ISO 8655 mark a notable departure from the previous version, introducing substantial changes to the calibration and testing landscape. The expanded standard now comprises nine parts, signifying a more comprehensive and detailed approach than its predecessor.
One of the significant alterations in ISO 8655:2022 is the introduction of two distinct reference measurement procedures for volume determination. Taube highlights these procedures, stating, “Part 6 outlines a gravimetric procedure, while Part 8 details a photometric procedure.” He continues, “Part 7 provides insights into alternative procedures beyond the reference measurement methods."
Part 9 of the updated ISO 8655:2022 introduces a new instrument class – manually operated precision laboratory syringes. Tolerances are also now proportional rather than set for a list of nominal volumes, as Taube comments, "This shift results in tighter tolerances, especially for smaller volumes and volumes which were not in the list given in ISO8655:2003, contributing to enhanced precision in measurements." This adjustment aligns with the evolving needs of laboratories seeking increasingly accurate measurement results.
Another aspect that has undergone further ‘tightening’ is the environmental conditions stipulated for calibrating a device to a reference procedure. These stricter conditions aim to offer improved security for users, ensuring that the “calibration environment aligns more closely with real-world usage scenarios.”
Additionally, ISO 8655:2022 now requires a minimum of 10 repeated measurements when calibrating according to a reference procedure. Delzongle emphasized this requirement, stating, "This stipulation is designed to yield more precise test and calibration results." The increased number of measurements adds another layer of rigor to the calibration process, aligning with the overarching goal of achieving the highest levels of precision in laboratory practices.
Learn more about the new ISO 8655:2022 “Piston-Operated Volumetric Apparatus” and find answers to frequently asked questions here >>
The impact of ISO 8655:2022 on pipettes
The 2022 revisions to ISO 8655 bring pivotal changes specifically for pipettes and pipette tips. Taube highlights the following key alterations:
- Pipette as a system: The pipette, including the pipette tip, is now considered as a system. Maximum permissible errors must be met by the entire system, making calibration and test results valid only for the documented tip type on the test report or calibration certificate.
- Tip validation: The importance of pipette tips is emphasized, stating that tips must be validated for use with the pipette by the tip manufacturer. Tips lacking such validation should no longer claim compliance with the ISO 8655 standard.
The new ISO standard states that a metrological confirmation shall be performed regularly to ensure that the apparatus meets the requirements for its intended use. A minimum test interval of one year is stated. When defining the test interval points like the risk of application, frequency of use, number of users, the type of liquid to be delivered as well as the acceptable maximum permissible errors and the manufacturer information should be considered.
“The ISO standard now also clearly recommends routine testing in users’ laboratories between two metrological confirmations to provide reassurance that a pipette is continuously delivering accurate and reliable volumes,” explains Delzongle. “In addition, it is now also recommended that an as-found test or calibration should be carried out before any maintenance or repair as this can affect the performance of a POVA and the as-found calibration is needed to interpret the results obtained.”
A summary of Part 2: Pipettes of the ISO 8655:2022 update can be found in this infographic >>
Stay connected for the future with innovative electronic pipettes
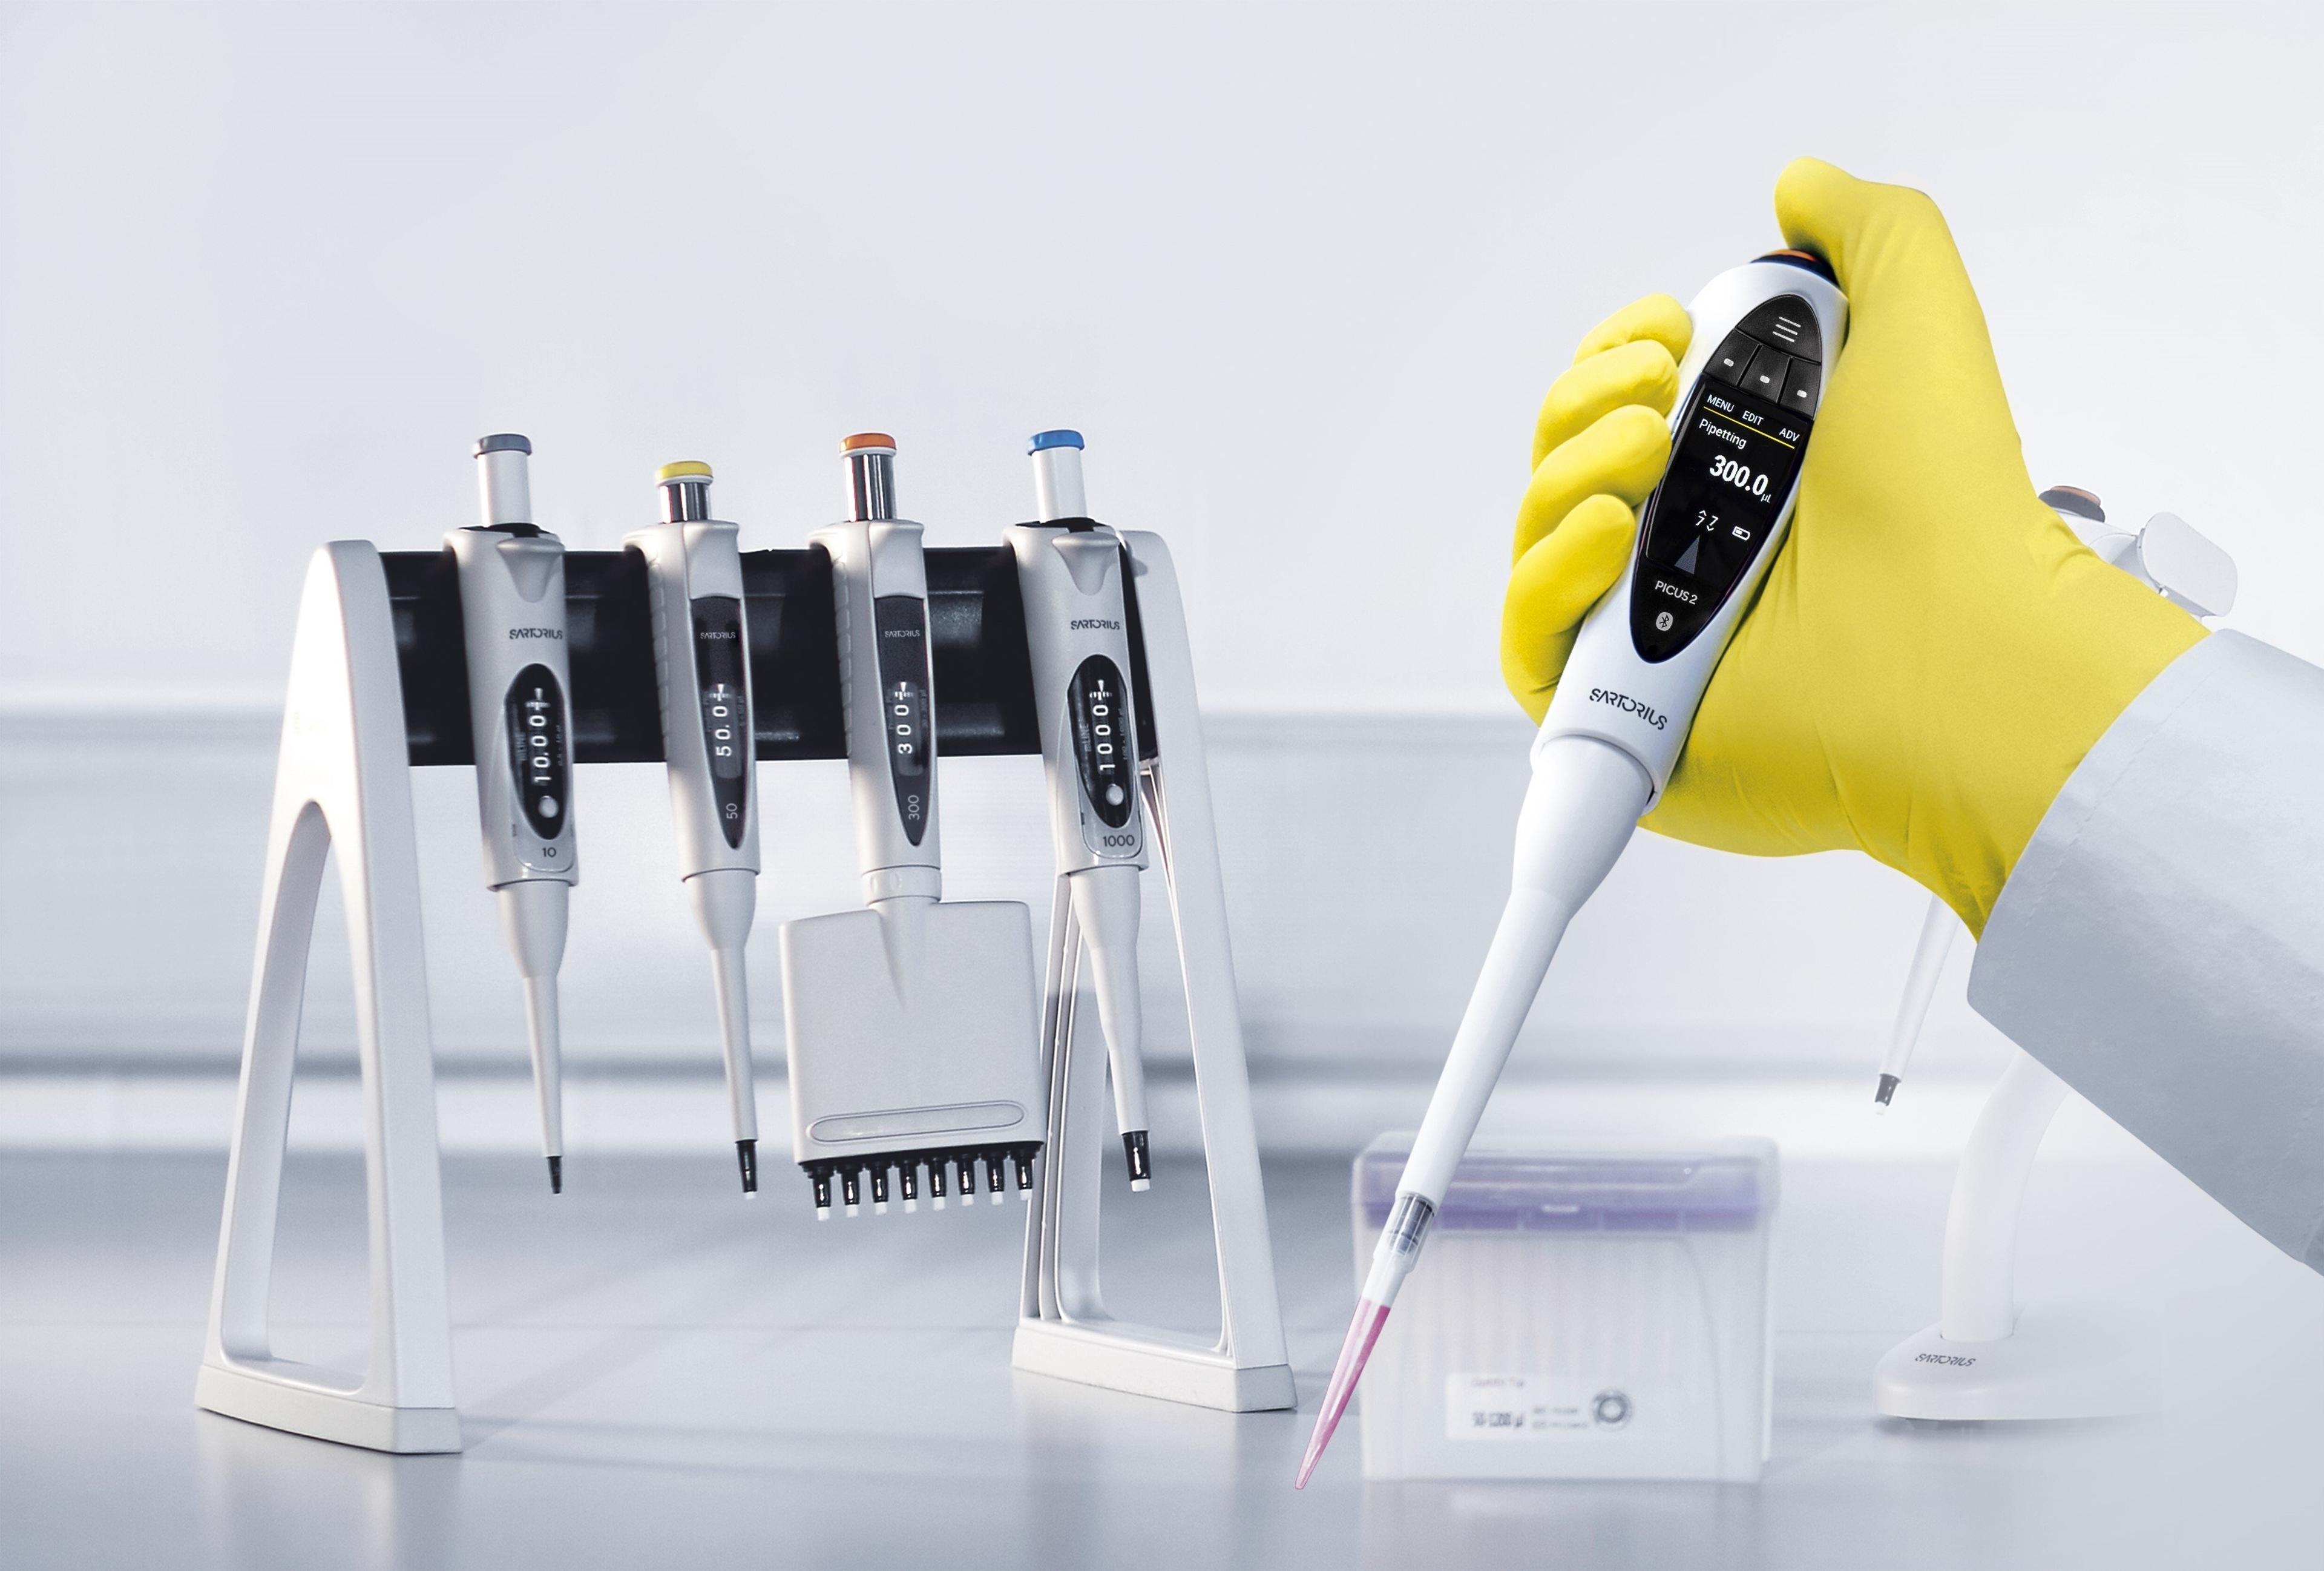
In alignment with ISO 8655:2022, Sartorius has introduced the Picus 2 pipettes; a cutting-edge solution designed to ensure reliable and repeatable pipetting results. The Picus 2 features an ergonomic design, catering to the needs of all lab workers, from graduate students to seasoned professionals.
Taube highlights some key features of the Picus 2 pipettes:
- Calibration and maintenance reminders: Users can set individual reminders based on time, ensuring that the pipette is consistently calibrated and maintained.
- Password protection: Critical settings, such as pipette adjustment data, can be protected from modifications through password protection.
- Multiple adjustment profiles: The pipette offers multiple adjustment profiles, ideal for users calibrating for various tip types.
- Pipette locking: Users can lock the pipette, preventing its use in case of accidental drops or contamination.
A global network of calibration support

Sartorius calibration services stands out with its worldwide network of calibration laboratories and field service engineers. “Offering a unique and complete portfolio of test and calibration services, Sartorius gives laboratories the flexibility to choose between sending devices to calibration laboratories or opting for on-site service,” says Taube. “Furthermore, Sartorius boasts the capability to provide ISO 17025-accredited calibration services in most countries. Calibration certificates performed under an ISO 17025 accreditation are globally accepted as traceability documents.”
Advice for scientists to remain compliant with ISO 8655:2022
To assist lab users in ensuring they remain compliant with the recent ISO changes, Taube offers some advice. He says the most important point is that the “pipette can only be used in compliance with ISO 8655 if the used tip type matches the one stated in the calibration certificate”. Taube emphasizes that using a different tip type renders the system uncalibrated. Secondly, he advises that customers should “make sure to order an as-found calibration before any maintenance or adjustment work”, ensuring that the initial state or condition of the equipment is known and provides a baseline for accurate interpretation of results post-maintenance or adjustment. Lastly, Taube emphasizes that routine testing considerations should align with the new ISO requirements, adding, “Sartorius offers suitable solutions for routine testing along with consultancy on the right products."
ISO 8655:2022 sets the stage for enhanced accuracy and reliability in pipetting, and Sartorius, with its Picus 2 pipettes and comprehensive service offerings, is at the forefront of ensuring compliance and reliability. As scientists navigate the complexities of liquid handling, Sartorius stands a trusted and reliable partner, providing the security and expertise needed for laboratories and quality management workflows worldwide.
Learn more about the testing method, environment, equipment, and reporting requirements of Part 6 and 7 of the ISO 8655:2022 update in this whitepaper, further information on what the ISO update means for balances can be found here >>


